How to Prevent Heat Lamp Burns and Fires in Reptile Tanks
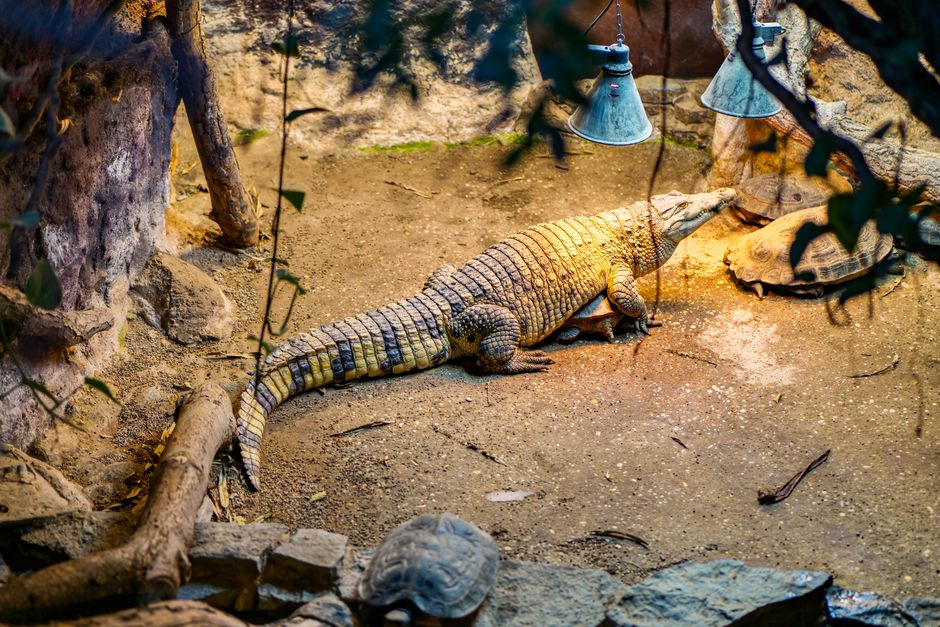
It was 11:23 p.m. when my roommate knocked on my bedroom door and said, “I think something’s burning.” We walked into the living room, and the smell hit us before the sight did — that sharp, acrid scent of scorched plastic. My ball python’s 75-gallon tank had a heat lamp that had shifted slightly against the mesh screen lid, and after six hours of direct contact, the mesh had started to discolor and warp. Nothing caught fire. But it could have.
That night changed how I approach every single piece of heating equipment I own for my reptiles. And the thing I’ve learned since then — after talking to other keepers, reading incident reports, and making my own share of mistakes — is this: the danger isn’t usually the lamp itself. It’s the assumption that “set it and forget it” is fine. Most heat lamp accidents happen not because the product failed, but because the setup was slightly off, the fixture was the wrong type, or nobody checked on it for a few days. That’s the real problem. Complacency, not equipment.
1. The Right Fixture Is Non-Negotiable — and Most People Get This Wrong
Using the correct lamp fixture is the single most important safety step for reptile heat lamps. Only use ceramic socket fixtures rated for the wattage of your bulb. A 100-watt incandescent bulb in a plastic-socket clamp lamp designed for 60 watts is one of the most common causes of heat lamp fires in reptile setups. The fixture’s wattage rating is stamped inside the socket — check it before you ever screw in a bulb.
Most reptile keepers walk into a pet store, grab a clamp lamp off the shelf, and assume it’ll handle whatever bulb they put in it. It won’t. The cheap dome-style clamp lamps sold at many chain pet retailers — the ones with the spring clamp and the silver interior — are often only rated for 60 or 75 watts. People routinely put 100-watt or 150-watt bulbs in them because their basking spot isn’t hitting the right temperature. The fixture overheats. The plastic components soften. The socket melts.
If you’re running anything above 75 watts, use a fixture with a ceramic socket and a porcelain interior. They’re usually a few dollars more, but the difference in heat tolerance is significant. Brands that specialize in reptile lighting sell these — look for the wattage rating clearly printed on the fixture before you buy.
2. Mesh Lids and Direct Contact: A Closer Look at What Actually Burns
Heat lamps should never make direct contact with a screen or mesh lid. Even a small amount of sustained contact between a hot bulb and a metal screen can create enough localized heat to damage the screen, warp the lid frame, or — in worst cases — ignite debris resting on top of the enclosure. Keep a minimum clearance of 6 inches between the bulb surface and any flammable material, including the lid itself.
The issue is that standard screen lids flex. If you place a heavy clamp lamp on one side of a screen lid without adequate support, the screen bows inward over time. Slowly, over days or weeks, the gap between the bulb and the screen shrinks. You don’t notice it because you’re not measuring it. Then one evening, the bulb is resting directly on the screen.
The fix is low-tech: use a lamp stand or a fixture that mounts above the enclosure independently, rather than resting on the lid itself. These are sold at most reptile supply stores. If you’re using a clamp lamp on a screen lid, check the clearance every few days — physically look at it with a ruler if you have to. Six inches minimum. Non-negotiable.
3. Wattage, Thermostat, and the Temperature Trap
Running a heat lamp without a thermostat means you’re relying on ambient room temperature to regulate your enclosure — and that’s a gamble. A lamp that holds a 90°F basking spot in July can push 105°F or higher in a room that drops to 65°F in January, because the bulb runs at full power either way. A thermostat cycles the lamp on and off to maintain a set temperature, which also reduces the thermal cycling stress on the bulb and fixture.
Thermostats designed for reptile enclosures aren’t expensive — a basic on/off thermostat runs around $30 to $50 at most reptile supply retailers. A proportional thermostat, which dims the bulb rather than cycling it fully on and off, costs more (usually $60 to $100) but extends bulb life and reduces flicker. For incandescent and halogen basking bulbs, a dimming thermostat is the better long-term choice.
Here’s the thing about thermostats that most beginner guides skip: the probe placement matters as much as the thermostat itself. If you clip the probe to the cool side of the tank, the thermostat will never shut the lamp off because it’s reading a temperature that’s always lower than your set point. Put the probe in the basking zone, roughly 1 to 2 inches above the surface your reptile sits on. That’s where the relevant temperature is.
4. A Week of Checking: What Routine Actually Looks Like (With the Day It Didn’t Work)
After the near-miss with my ball python’s setup, I started a simple weekly check — nothing elaborate. Every Sunday evening, I take two minutes and do the same four things: I check the clearance between the bulb and the lid, I verify the thermostat is reading within 2°F of my target basking temperature, I look at the fixture socket for any discoloration or melting, and I check that the clamp is fully tightened and hasn’t shifted.
Most weeks, everything’s fine. But about four months after I started this routine, I noticed the inside of my ceramic socket had a faint brown discoloration near the base of the bulb. I unscrewed the bulb and found that the bulb’s base had been getting hot enough to slightly scorch the socket — not dangerous yet, but a warning sign. I was using a 100-watt basking bulb in a fixture rated for 100 watts, which is technically within spec, but the fixture was an older model and the socket was showing wear. I replaced the fixture for about $14. Problem gone.
The week I skipped the check — I was traveling and asked a friend to feed my animals — nothing bad happened, but when I came back, the clamp had loosened and the lamp had rotated about 15 degrees, putting the bulb closer to the side of the screen than I’d want. Small thing. Easy to fix. But it’s exactly the kind of thing that escalates if you’re not looking.
5. Flammable Materials Near the Enclosure: The Overlooked Risk
Keep a clear zone of at least 12 inches around any heat lamp fixture. Paper towels, cardboard boxes used for shipping supplies, wooden furniture surfaces, fabric curtains — all of these have caught fire in documented reptile enclosure incidents. The heat from a 100-watt basking bulb radiates outward significantly, especially if the fixture’s reflector is directing heat sideways rather than downward.
Industry fire safety guidance consistently flags unattended space heaters and heat lamps in the same category of household fire risk. While specific statistics on reptile enclosure fires are not separately tracked in national databases, fire investigators and reptile-community incident reports point repeatedly to the same pattern: a fixture positioned too close to a combustible surface, left unattended overnight. That’s the scenario. Don’t create it.
Practical rule: if you wouldn’t leave a 100-watt lightbulb touching that surface for eight hours, don’t let your heat lamp sit near it either.
6. What Doesn’t Work: Four Common Approaches That Create More Risk
These are approaches I see constantly in reptile forums and Facebook groups. They’re well-intentioned. They don’t work.
- Using household extension cords rated for lamps or appliances. Most household extension cords are rated for intermittent use, not the continuous load of a heat lamp running 10 to 14 hours a day. Over time, the cord’s insulation degrades from sustained heat. Use a power strip with a built-in surge protector and make sure it’s rated for continuous load — or plug directly into a wall outlet.
- Leaving a heat lamp on a timer without a thermostat. A timer controls when the lamp is on or off, not the actual temperature. On a cold night, your timer-controlled lamp might not run long enough to keep the enclosure warm. On a hot day, it might overheat the tank before the timer shuts it off. Timers and thermostats serve different functions. Use both if needed, but never substitute one for the other.
- Assuming a higher-wattage bulb is fine “just to be safe.” More wattage doesn’t mean safer — it means hotter. If your 75-watt bulb isn’t holding temperature, the answer is usually improving insulation, adjusting the enclosure layout, or checking for drafts. Jumping to a 150-watt bulb in a fixture rated for 100 watts is a fire hazard dressed up as a solution.
- Relying on the feel of the glass to judge bulb temperature. Some keepers touch the outside of the enclosure glass to estimate whether the basking spot is “about right.” This tells you almost nothing. Use a temperature gun — sometimes called an infrared thermometer — to get an actual surface temperature reading. They cost around $15 to $25 and take two seconds to use. There’s no substitute.
7. Ceramic Heat Emitters vs. Incandescent Bulbs: Which Is Safer Long-Term
Ceramic heat emitters (CHEs) produce heat without light, which makes them useful for nighttime heating. From a fire safety standpoint, they run extremely hot at the surface — hotter than most incandescent basking bulbs — and require a ceramic socket fixture, not a standard plastic dome lamp. This is one of the most common mistakes with CHEs. A CHE in a plastic-socket fixture will melt the fixture. Always.
For daytime basking setups, halogen flood bulbs have largely replaced traditional incandescent bulbs in experienced keeper setups because they produce a tighter, more directed beam, run at a lower wattage for equivalent heat output, and last longer. They still need a thermostat. They still need clearance. But watt-for-watt, they tend to put less thermal stress on fixtures than old-style incandescent basking bulbs.
Neither option is inherently “safer” without proper setup. The safest lamp is the one installed correctly in the right fixture, controlled by a thermostat, with adequate clearance, checked regularly. Type matters less than setup.
Start Here This Week
You don’t need to overhaul your entire setup tonight. Here’s what to actually do in the next 48 hours:
- Pull out your current clamp lamp or fixture and find the wattage rating stamped inside the socket. Compare it to the bulb you’re running. If the bulb is at or above the fixture’s rating, replace the fixture this week — not eventually, this week.
- Take a ruler and physically measure the distance between your bulb and the screen lid or nearest surface. If it’s under 6 inches, adjust the lamp position or get a lamp stand before you turn it back on.
- If you don’t have a thermostat, put a basic reptile on/off thermostat on your shopping list. Order it before the weekend. This is the $30 to $50 item that most directly reduces both fire risk and the chance of cooking your animal.
One check. One measurement. One item added to a cart. That’s the whole ask. The near-miss at 11:23 p.m. in my living room cost me nothing but a replaced screen lid and a sleepless night. It doesn’t have to cost you more than that either — as long as you look before something forces you to.

Publicar comentário